Water Bath vs Pressure Canning: Which Preserving Method Is Right for Your Recipe?
A practical guide to choosing between water bath and pressure canning, based on your recipe's acidity, plus equipment, safety rules and altitude adjustments.
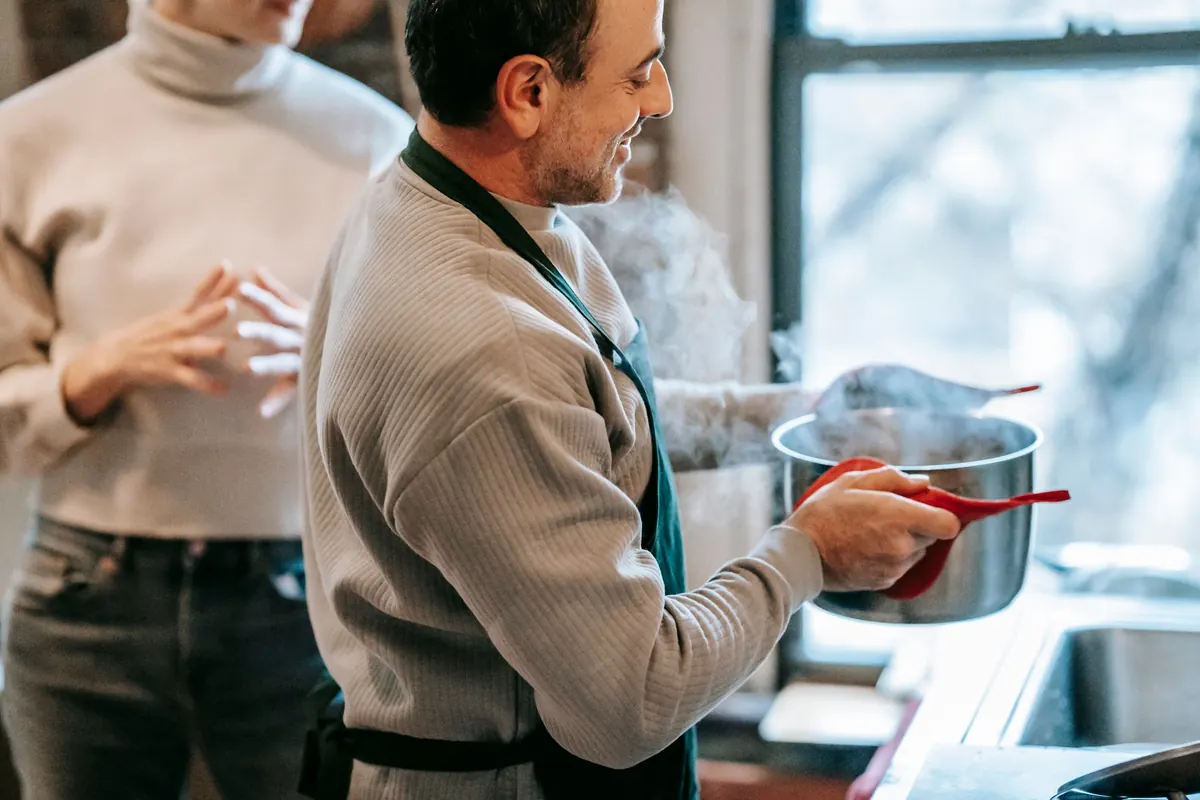
A cupboard full of your own preserves is one of the quiet pleasures of a kitchen. But before the jars come out, one decision shapes everything: water bath or pressure canner? Get it right and you will be opening tomatoes in February and beef stew in October. Get it wrong and you risk spoiled food, wasted effort, and in the worst case a genuinely dangerous jar. The good news is that the choice is not a matter of style or family tradition. It comes down to the chemistry of what you are putting in the jar.
Acidity decides the method, not personal preference
Every tested canning recipe is built around one number: pH 4.6. Foods more acidic than that are called high-acid, and they can be processed safely in boiling water. Foods less acidic than that are low-acid, and boiling water will never make them safe.
The reason is heat. A rolling boil tops out at 212°F (100°C) at sea level. That is hot enough to kill moulds, yeasts and most bacteria, but it does not destroy the spores of Clostridium botulinum. Those spores can survive boiling and, in a sealed, oxygen-free jar, germinate and produce a toxin. A pressure canner raises the temperature to 240°F (116°C) or above, which is what it takes to destroy the spores.
So the first question with any recipe is simple: is this a high-acid or low-acid food?
- High-acid (water bath): most fruits, jams, jellies, marmalades, fruit butters, pickles, chutneys, relishes, and tomatoes or tomato products with added lemon juice, citric acid or vinegar.
- Low-acid (pressure canner): green beans, carrots, potatoes, corn, peas, beets, mushrooms, dried beans, meat, poultry, fish, stocks, soups and most mixed vegetable mixtures.
Tomatoes sit in the awkward middle. They are only mildly acidic, so tested recipes call for added acid even in a water bath recipe. Leave it out and you have moved a high-acid recipe into unsafe territory.
Water bath canning: simple, fast and ideal for fruit
A water bath canner is just a deep pot with a rack and a lid. Jars are submerged with an inch or two of water above the lids, brought to a full rolling boil, and processed for the time given in the recipe. The boiling water heats the contents, drives air out of the jar, and the cooling vacuum seals the lid.
It is gentle on texture and colour, which is why jams, whole fruit and crisp pickles come out best this way. It is also forgiving on equipment: any pot deep enough to cover your jars will do, provided you have a rack to keep jars off the base.
What it will not tolerate is improvisation. Adding extra onion and peppers to a salsa recipe, thickening a pie filling with cornflour, or doubling a batch without adjusting processing time can all change how quickly heat reaches the centre of the jar. Follow a tested recipe and its times exactly.
Pressure canning: the only safe route for low-acid food
A pressure canner seals, builds pressure and reaches temperatures well above boiling. That extra heat is what makes vegetables, meats and stocks safe to store at room temperature. There is no shortcut here. Processing green beans in a water bath for hours does not work; it simply produces overcooked, unsafe food.
Pressure canning asks more of you as a cook. You need to vent the canner with a steady stream of steam for about ten minutes before bringing it up to pressure, so the air is driven out and the temperature inside matches the gauge. You need to let the pressure fall to zero on its own, then wait a few more minutes before opening the lid. Rushing either step is how jars crack and how people get burned.
Dial gauge or weighted gauge?
Both work. A weighted gauge rocks or jiggles at a set pressure and needs no testing. A dial gauge lets you fine-tune pressure but should be checked for accuracy once a year, usually through your local extension service. If you cannot verify a dial gauge, a weighted one is the safer choice.
Use a canner designed for canning rather than a small stovetop pressure cooker. Canners are taller, hold more jars and are tested for the job. Electric pressure canners are a separate category; if you use one, it must be explicitly approved for pressure canning and you should follow its manufacturer's instructions alongside a tested recipe.
Equipment checklist
Whichever route you take, most of the small tools are shared.
- Water bath canner (or a deep stockpot) with a rack, plus a lid.
- Pressure canner with a rack, a vent pipe and either a weighted or dial gauge.
- Jars free of cracks and chips; screw bands in good condition.
- New lids every time. Lids are single-use for sealing.
- Jar lifter, wide funnel, bubble remover or wooden chopstick, clean cloths.
- A tested recipe with processing times, and a timer you trust.
Headspace matters too: about ¼ inch for jams and jellies, ½ inch for fruits and tomatoes, and 1 to 1¼ inches for low-acid foods in a pressure canner. Too little and contents bubble out under the lid; too much and the jar may not seal properly.
Altitude changes the numbers
Water boils at a lower temperature the higher you go, so both methods need adjustment. In a water bath, you add processing time as altitude increases. In a pressure canner, you increase the pressure instead. Tested recipes and extension service charts give the exact figures for your elevation, and it is worth looking up your own rather than borrowing a friend's numbers.
Safety rules that apply to both methods
- Use current tested recipes from a reliable source, not guesswork or an old family note with no processing time.
- Do not change the proportions of low-acid ingredients in a tested recipe.
- Acidify tomatoes with bottled lemon juice or citric acid as the recipe directs.
- Let jars cool undisturbed for 12 to 24 hours, then check seals, remove bands, label and store in a cool, dark place.
- Discard any jar with a broken seal, off smell, unusual colour, or mould. Never taste it to check.
- As an extra precaution, boil home-canned low-acid foods for ten minutes before eating.
If you are uncertain about a recipe, your equipment, or a jar that looks odd, ask your local extension service or a qualified food preservation professional rather than relying on internet opinions.
Pick the method your recipe was written for
The simplest habit is to choose the recipe first, then the pot. If you are making strawberry jam, spiced pears or dill pickles, the water bath is your tool. If you are putting up green beans, chicken stock, chilli or a vegetable soup, the pressure canner is not optional. When a recipe does not state a method, treat that as a warning sign and find one that does. Twelve jars of something you cannot safely eat are worth far less than four jars you can open with confidence.
Photo: Jonathan Cooper / Pexels